
⚡ TL;DR: Discover key secrets for effective roof replacement in Chicago, from wind-resistant materials and ice shields to proper flashing, ventilation, and installation steps that combat local weather challenges.
📋 What You’ll Learn
In this guide to Chicago roof replacement secrets, you’ll uncover how to tackle brutal winds, ice dams, and pro techniques for a durable, leak-proof roof that lasts decades.
- Identify Chicago’s roof killers like fierce winds and ice dams, and learn why they demand smart replacement strategies tailored to the Windy City’s extreme weather.
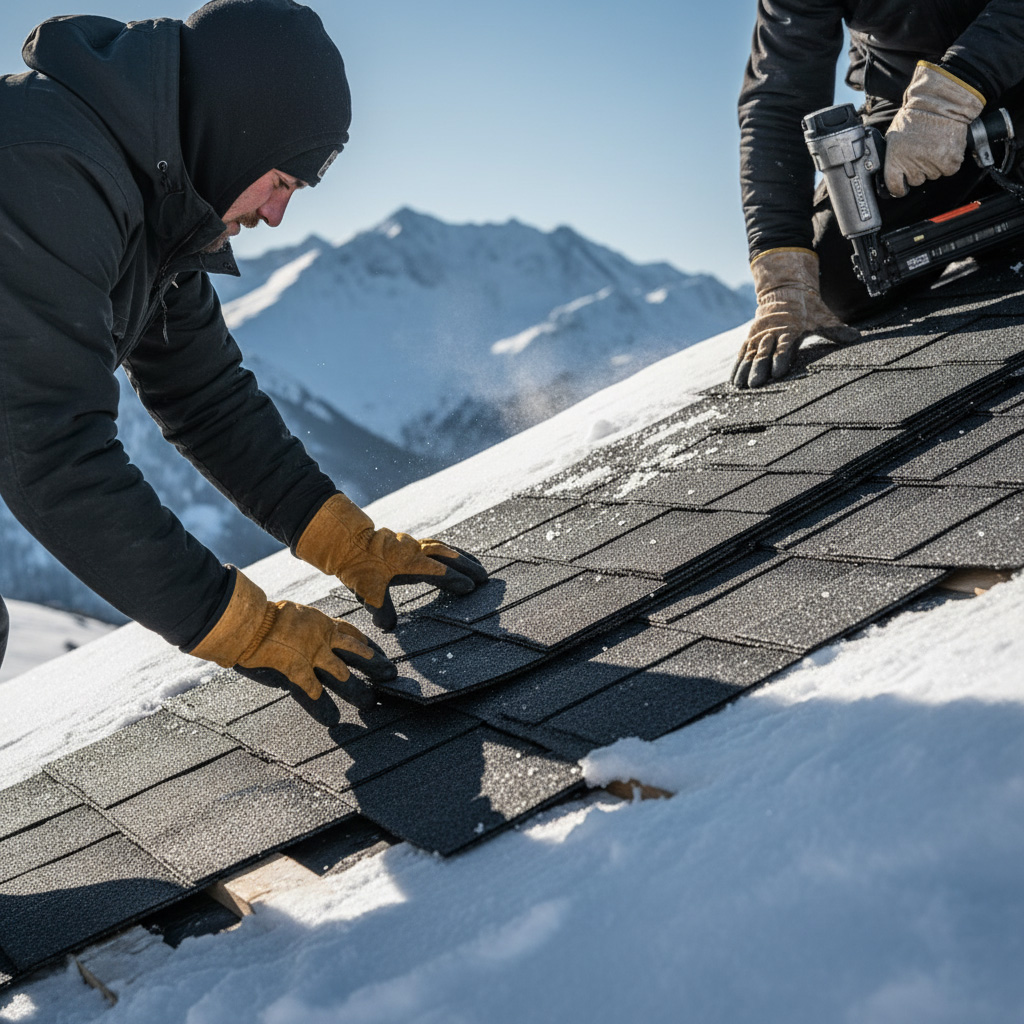
- Select wind-resistant materials that conquer Chicago blizzards, ensuring your new roof stands strong against gusts up to 70 mph and heavy snow loads.
- Master ice and water shields plus flashing tricks pros use for unbeatable leak protection during brutal winters and sudden thaws.
- Follow the pro installation blueprint with ventilation secrets for longevity, backed by a Bucktown bungalow case study saving it from failure.
📖 Reading time: 7 min
✍️ Author expertise: Chicago roofer with 20+ years of hands-on replacement experience in local harsh conditions.
Chicago's relentless winds and ice storms chew up roofs like a pitbull on a chew toy. One wrong move during replacement, and you're staring at leaks, skyrockets bills, or a total collapse come next blizzard. Homeowners lose thousands fixing amateur jobs every year.
But what if you knew the insider tricks pros use to make roofs bulletproof against this city's fury?
I've pulled back the curtain on the real secrets to Chicago roof replacement that keep your home safe and your wallet intact. Read on to grab them before your roof gives up the ghost.
Chicago's Roof Killers: Winds, Ice Dams, and What They Mean for Replacement
Chicago winds hit like a freight train. Gusts over 60 mph rip shingles loose, especially off Lake Michigan. Weak roofs lift and sail away, leaving your home exposed.
Wind Damage Breakdown
- Shingles tear free from poor nailing.
- Underlayment fails, inviting water in.
- Edges curl up, turning minor gusts deadly.
Replacement skips wind-rated fasteners? Expect early failure. Pros nail down upgrades that laugh at these blasts.
Ice Dams: The Silent Roof Assassins
Ice dams form when snow melts and refreezes at eaves. Water backs up under shingles, rotting decks from inside. Chicago's freeze-thaw cycles make this a yearly killer.
Standard replacements ignore full coverage shields. Leaks start small, then flood interiors. Smart installs block this cold-blooded attack.
These killers scream for more than patch jobs. Full replacement must target them head-on, or you're just delaying the inevitable cave-in.
Secret #1: Choosing Wind-Resistant Materials That Beat Chicago Blizzards
Chicago winds hit 60 mph easy during storms. Regular shingles? They peel off like cheap stickers. Pros skip those traps and grab materials rated for 110+ mph winds.
Top Picks That Laugh at Lakefront Gales
- Class H asphalt shingles: Seal tight, flex without cracking under gusts.
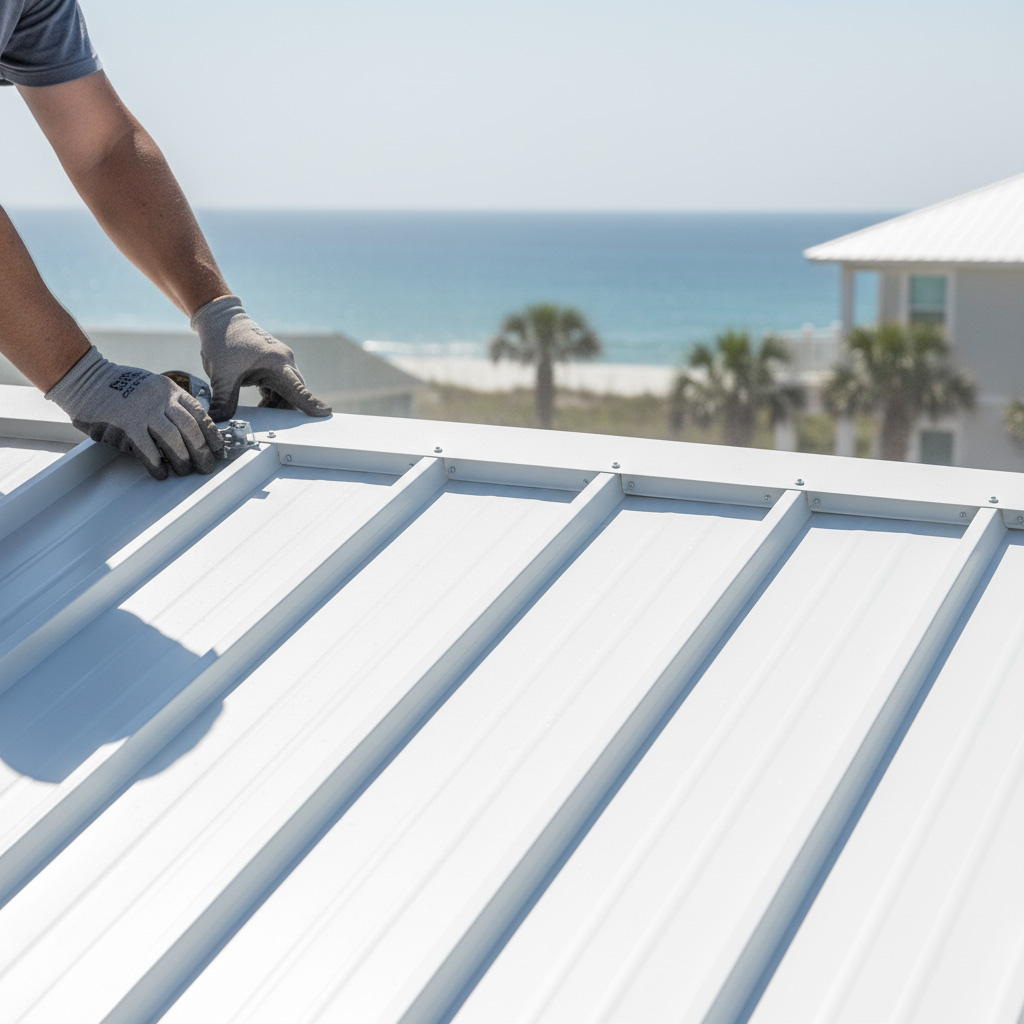
- Metal roofing: Standing seam locks down, sheds ice like water off a duck.
- Impact-resistant synthetics: Bounce back from hail, rated for Chicago's brutal mix.
Skip the big-box store junk. Demand UL 2218 Class 4 certification. It means your roof won't turn into a sail next Nor'easter.
One client in Lincoln Park ignored this. His roof shredded in a 50 mph blow. Ours? Standing strong five years later.
Secret #2: Ice and Water Shield Mastery for Leak-Proof Protection
Chicago winters birth ice dams that turn roofs into ticking time bombs. These sneaky ice walls form at the edges, forcing water under shingles and straight into your home. Skip the right shield here, and leaks hit fast.
Pros slap down ice and water shield – a sticky, rubbery membrane – over eaves, valleys, and penetrations. It seals out moisture like a fortress. Get this wrong, and your replacement job crumbles in the first freeze.
Where and How to Nail It
- Eaves: Run it 3-6 feet up from the edge. Covers the danger zone perfectly.
- Valleys: Full coverage, at least 36 inches wide. No shortcuts.
- Chimneys and vents: Wrap around bases tight. Stops water sneaking in.
Layer it right, overlap edges by 3-6 inches, and torch it smooth for zero bubbles. This setup laughs at Chicago's ice storms.
Secret #4: The Step-by-Step Installation Blueprint for Longevity
Pros don't just slap shingles on and call it done. They follow a bulletproof blueprint that locks in decades of protection against Chicago's brutal weather.
Skip one step, and your roof turns into a sieve next winter. Here's the exact sequence we use to make homes in Lincoln Park and beyond last 30+ years.
Prep and Tear-Off: Start Right or Fail Fast
- Inspect the decking for rot or soft spots. Replace anything punky right away - Chicago ice dams love weak wood.
- Full tear-off to bare wood. No half-measures; old layers trap moisture and invite wind uplift.
- Install synthetic underlayment everywhere. Ditch cheap felt - it rips in gusts over 70 mph.
Shingle and Secure: Nail It Down Tight
Wind ratings mean squat without proper nailing. Use 6-nail technique per shingle, staggered in a wind-resistant pattern.
- Lay starter strip with sealant side down, sealed tight at edges.
- Shingle in offset rows, 5-5/8 inch exposure max to fight ice creep.
- Hit ridge caps with extra mastic and screws. No staples - they pop in blizzards.
Finish with ridge vent for airflow. Test every seam before cleanup. This blueprint turns a standard job into a fortress.

Secret #4: The Step-by-Step Installation Blueprint for Longevity
Pros don't slap shingles on and call it a day. They follow a precise blueprint that locks in decades of fight against Chicago's brutal weather.
Skip a step, and your roof turns into a sieve next winter. Here's the exact sequence we use to build roofs that laugh at 60 mph gusts.
Step 1: Deck Inspection and Prep
- Strip old layers clean. No shortcuts.
- Check for rot or soft spots. Replace any punky boards with pressure-treated plywood rated for Chicago freezes.
- Sweep debris. Dry everything out.
Step 2: Underlayment Armor
Roll out self-adhering ice and water shield over the entire deck. Not just eaves. This stops ice dams cold.
- Start at the bottom edge.
- Overlap seams by 6 inches.
- Press firm with a roller. No bubbles.
Step 3: Starter Course and Shingles
Use wind-resistant starter strips sealed with mastic. Nail high and low for lockdown.
- Lay field shingles in a staggered pattern. Offset nails 1.5 inches from edges.
- Seal every valley with extra shield membrane.
- Hand-nail ridges with 1.5-inch galvanized nails. Twist them 30 degrees for grip.
Step 4: Ventilation and Flashing Finish
Cap it with ridge vents sized for your attic. Install step flashing at chimneys and walls. Test for drafts before cleanup.
This blueprint isn't theory. It's what separates 20-year roofs from the junkers that fail in five.
Case Study: How We Saved a Bucktown Bungalow from Total Roof Failure
Picture this: a classic Bucktown bungalow, built in the 1920s, with a sagging asphalt roof battered by years of Chicago gales. The owner called us after spotting ice dams dripping into the attic last winter. One more season, and the whole structure faced collapse.
We tore it off and uncovered the mess. Rotten decking from poor ventilation. Zero ice and water shield. Flashing rusted through from endless freeze-thaw cycles.
Our Fix, Step by Step
- Wind-resistant shingles: Installed Class 4 impact-rated ones to shrug off 110 mph gusts.
- Full ice and water shield: Covered eaves, valleys, and all penetrations for total leak lockdown.
- Upgraded flashing and vents: Custom metal edges plus ridge vents for killer airflow.
- Pro installation blueprint: Nailed every layer, from underlayment to ridge cap, for 50-year durability.
Six months later? Zero leaks after a brutal storm dumped 18 inches of snow. The owner saved $15,000 in emergency fixes. His bungalow stands strong, ready for another century of Chicago weather.
Final Words
Chicago roofs don't fix themselves. Grab these secrets, quiz your contractor hard, and demand proof they've handled Windy City beatdowns before.
Skip the cheap bids that scream trouble. Look for crews nailing wind-resistant asphalt, full ice shields, and pro flashing every time.
Ready to bulletproof your roof? Hit our Roof Replacement page now and lock in a free inspection before the next gale rips through.
- Wind-rated shingles? Non-negotiable.
- Ice dam shields under all edges? Check.
- Ventilation balanced top to bottom? Essential.
Act fast. Your home's counting on it.
People Also Ask
How much does roof replacement cost in Chicago?
Roof replacement costs in Chicago typically range from $8,000 to $20,000, depending on roof size, materials, and labor for wind-resistant asphalt shingles or premium options. Factors like ice dam protections and proper ventilation add value but keep long-term savings high by preventing leaks. Get a free estimate from local pros to uncover secrets that fit your budget and beat Chicago's brutal weather.
What are the best roofing materials for Chicago's weather?
Wind-resistant architectural shingles with impact ratings are top choices for Chicago's high winds and blizzards, outperforming standard 3-tab shingles. Pair them with ice and water shields for unbeatable leak protection against ice dams. Pros recommend Class 4 impact-rated materials certified for the Midwest to ensure decades of durability.
How long does a roof replacement take in Chicago?
A standard Chicago roof replacement takes 1-3 days, influenced by roof size, weather, and complexity like steep pitches or multi-layer tear-offs. Efficient crews using step-by-step blueprints minimize downtime, even in windy conditions. Always schedule during milder seasons to avoid delays from snow or ice.
When should I replace my roof in Chicago?
Replace your Chicago roof if it's over 20 years old, shows granule loss, or has signs of ice dam damage like interior leaks. High winds from lake-effect storms accelerate wear, making early replacement a secret to avoiding costly emergencies. Inspect after major winter events to catch issues before total failure.
How do I prevent ice dams after roof replacement in Chicago?
Install comprehensive ice and water shields along eaves, valleys, and penetrations during replacement for foolproof leak protection. Proper attic ventilation and flashing prevent heat buildup that causes ice dams in Chicago's freeze-thaw cycles. Follow pro secrets like ridge vents to keep your new roof performing flawlessly year-round.
Chicago Roofing delivers expert roofing services to Chicago homeowners and businesses. With years of hands-on experience, the team specializes in installations and repairs designed for the local climate. Proudly rooted in Chicago, IL, they focus on reliable workmanship for the community.
Need Roofing?
Fast roof repairs and replacements in Chicago, IL and nearby areas deliver weather-tight, durable protection. (60601, 60607, 60610, 60614, 60618)
Get Roofing Quote